Today we are creating some crates.
We will be modelling a High-Poly crate and then making it into a normal map, to transfer to a low poly cube.

I started with two cubes, naming one high poly and one low poly.
With the high poly cube, I extruded the faces to create this.


By extruding inwards, it doesnt change the actual silhouette of the model, which will make it easier to bake out later.
After making the basic shape of the box, I made another cube, which I will turn into long panels to go across the box.

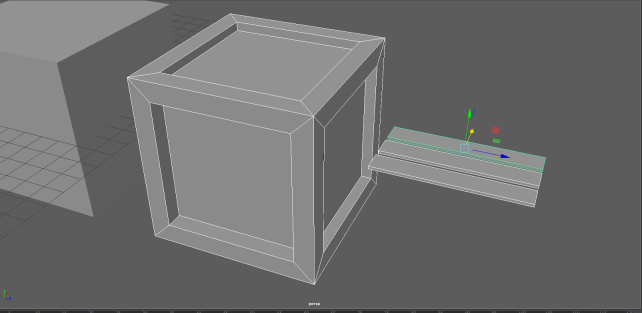
I then arranged the panels to create the crate.


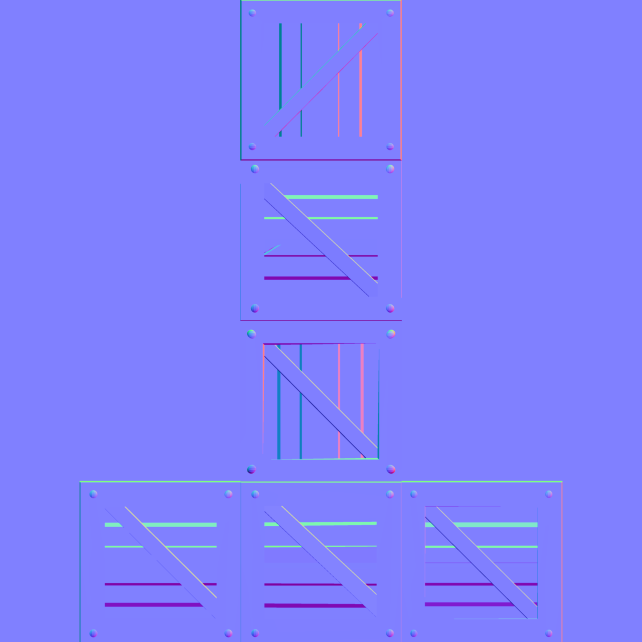
After finishing the crate, I then baked it out to create the normal map for my low poly crate.
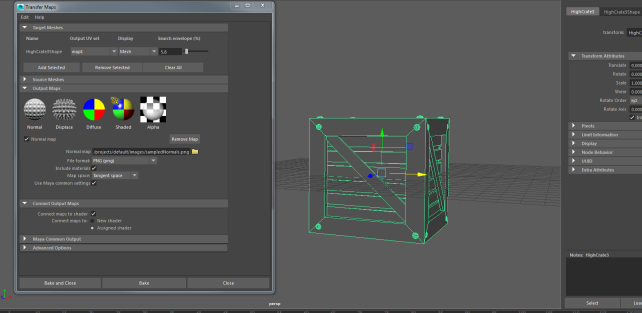
To do this, I had to transfer the map. Both the low poly and high poly crates had to be on top of each other in the center of the modelling scene.
This will allow the map to be transferred correctly.
However, I forgot to make an angle on some of the panels so when it had finally baked out, they weren’t visible. So this will mean moving the panels and re-baking the model.

Baked Item

Re-Bake

By modelling this way, you can create models that look like they have a lot of surface detail from afar, so this is good to keep the polycount down for objects that appear in backgrounds.
However, this technique cant really be used for characters as you can instantly tell that it isnt as detailed as it is, and that it is basically a flat object with a texture on.