
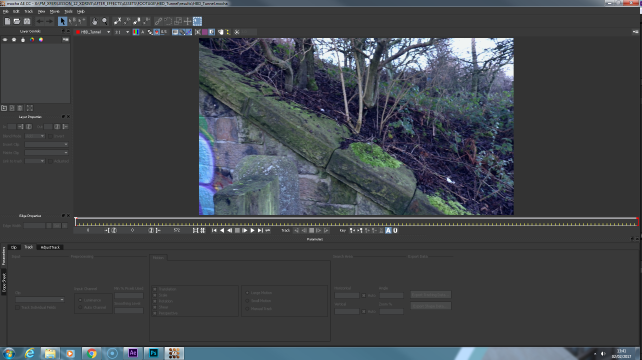
Today I was shown how to use Mocha in After Effects, So I will be practicing more using different shots and images.

I imported some test footage of the tunnel. This footage is really “shaky and rotates” a lot, this would be very difficult to track with 1 or 2 point tracking.
Next, you go into animation, then click Track in Mocha AE.
Next, you find a clean frame, and click on the Spline button, then draw around a shape that you want to track, as well as adjusting the planar surface.
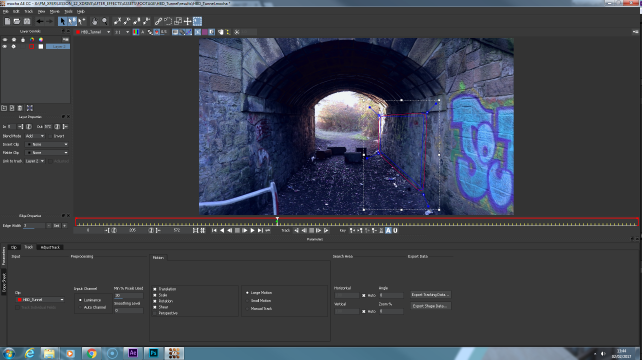
To track this, I then tracked “backwards” and then “forwards” to ensure there was no errors.

Due to where the footage is saved, it takes a while to track, so it looks jumpy.
Next we copy the tracked information back to after effects.
Then you make a new solid, and paste the tracking onto that solid, but must make sure that it is on frame 1 otherwise it wont work properly.

Once this is done, we pre-compose this and import the image file above the composition.

Sometimes the image needs an adjustment, so different modes such as Overlay or colour dodge will work, depending on the image and footage used. But for this one, I have used Exclusion

However, the image still looks quite sharp, so we add a CC Force Motion Blur to the image, giving it a more realistic feel.
I then changed the curves slightly so that the colours arent so bright.
After, I then did another track on the other wall and added another image.
Final Comp:

