Asset Design and Modelling: Introduction to Maya

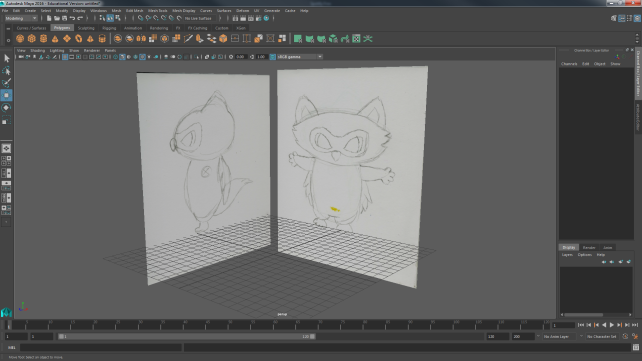
My first Module in Uni is Asset Design and Modelling with our first lesson being on an introduction to Maya.

We were tasked to create a characters head, or if you had time, a body as well, during the lesson and to have it finished by next lesson.

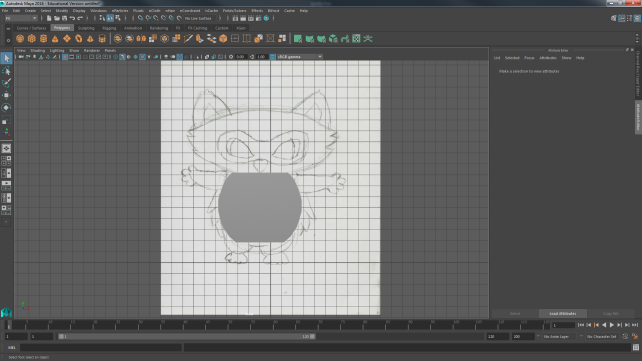
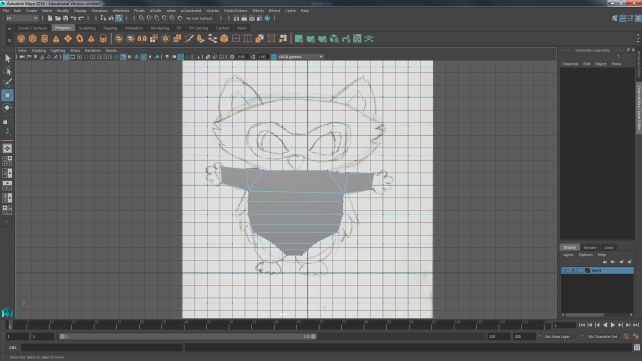
However, we were not allowed to edit sub-components of the model, such as editing vertices or edges and so had to make the entire model from just primitive shapes and then edit it with transform, scale and rotate only.

d1185dcc09d880b5ae7104436ba9e385--character-model-sheet-character-concept.jpg

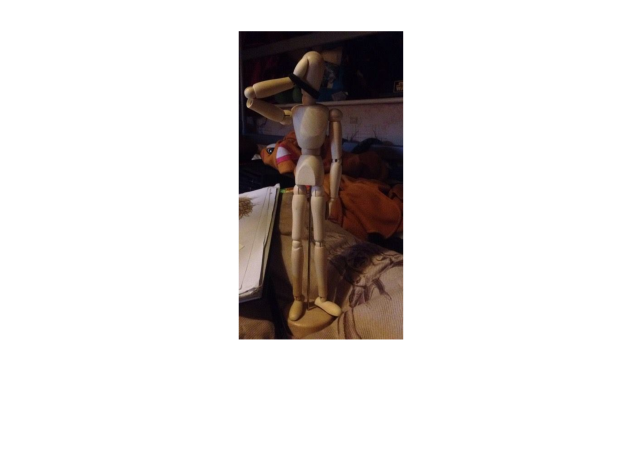
This is the character I decided to model during our first lesson.

I found it really strange to model with just the primitive shapes without editing the other sections as I have been so used to pulling the shapes around within Nextgen in the past two years.

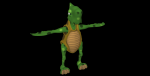
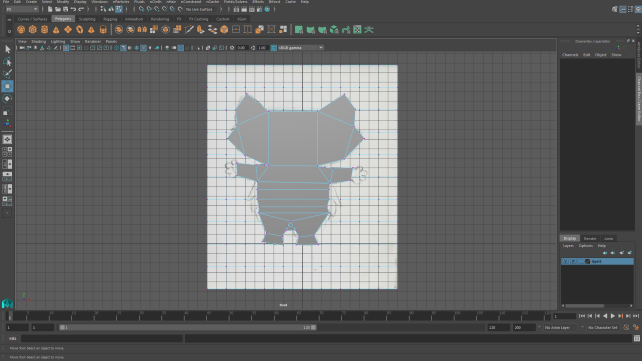
This is the final model I had created by the end of the lesson. We were also allowed to colour our model, but only using basic colouring methods with Lamberts and Blinns etc.

Synoptic Project: Creating a Concept Piece

For part of our project, I created a concept piece for part of act 2.

To do this, I used my posing doll at home, as I couldnt find any reference images online that I didnt like that much or felt that was right.

1.png

I posed the doll then took a photo and uploaded it onto my computer

Then using this, I was able to sketch the character over the top of the image , shown below:

2

Once I created the base sketch, I tidied it up a bit, shown below

3.png

However, I wanted to keep this sketchy style for the final image rather than give it bold outlines. So I painted on another layer to create this image.


mind-1

Creative and Technical Modelling: Continuing Modelling & High to Low Poly Workflow

What is High to Low Poly Workflow?   How are you going to do it?   What will it look like on your model?   What programs will you use to create it?     Continuing Modelling.   So from … Continue reading

Creative and Technical Modelling: Research and Beginning the Model

We will be starting a 9 week modelling challenge to create the best 3d  model that we can.

Brief: “This model needs to show a high to low poly model which uses normal map baking.

This model will be UV mapped and textured. During this project you will also learn about Specular maps and emissive maps”

Untitled-2.png


The first thing to do was to find some images of ideas that I want to model.

I chose vehicles, characters, weapons and objects.

These are the images I chose to use for my research.

This slideshow requires JavaScript.

In the end, I decided to chose Sonic to create my model with.


I started off in 3DS Max, but almost immediately ran into issues where the box I had created couldnt be selected and altered.

So I swapped over to Maya to create the model.

I added two reference planes so that I could use them to help create my model.

Then I added a box shape and began modelling from that.

Untitled-3.png

Untitled-3.png

Mudbox: Adding Surface Detail

Today we are adding surface detail to a character within Mudbox. To do this,we have unwrapped the model and then we will be adding surface detail to the model in a high poly state, before baking it then moving it … Continue reading

Project 7: Character Modelling in Maya

Today we started modelling characters in Maya, we could have either chosen from a set list of characters, or bring our own.

I chose to make Lucious as a model.

1.png

I scanned some images of Lucious standing in a T-pose position to help make the modelling easier.


The main body is blocked out using a cube and then extruded into multiple shapes, which is shown below.

2.png

34

5.png

This was for Lucious’s front view. I then went into his side view and edited that, but unfortunately I ran into a lot of problems where vertices would overlap, extra faces and polygons, N-Gons and other things that I will need to get rid of or fix.

Once I had gotten the main shape of Lucious complete, I tried to add some depth to him by extruding him outwards to make his stomach and face.

However, I have extruded it really strangely, so I had multiple overlapping vertices and triangles.

To improve for next time, I need to remember to be more careful while extruding and connect vertices when I extrude.

Project 4: Storyboarding Part 3.

The next part of our storyboarding lesson, we pitched our ideas to the other people within the classes, then we had to swap our stories and create storyboard images for key points in each part of their story.


We got given a story about a weak Lion drinking at a waterhole, which is then approached by a gazelle.

The lion and gazelle start fighting and then more gazelles join in and eventually the lion is killed due to it being so weak.

The parts of the storyboard I got given was a close up of the lion drinking, and then a shot of the gazelle approaching the drinking lion.

lion1

This was the first panel I created of the lion drinking from the waterhole. I have made the face really detailed, but the front legs less detailed so that the focus would be on the lions face during the shot.

14527502_10202432862378999_913915829_n.jpg

The next shot shows the gazelle approaching the lion at the watering hole.

I have coloured the Gazelle as that is the main feature of this shot.

Project 4: Storyboarding – 2

We were given a task to create a story in a desert which involved conflict. In our group we brainstormed some ideas, such as a giant snake monster, someone trying to steal treasure and Egyptians betraying a group of cowboys.

In the end, we decided to go for a group of treasure hunters that go into a Pyramid and find a group of Ancient Egyptian Priests. This then disturbed the priests and so they summon a dust demon to take care of the treasure hunters.

One of the hunters gets cursed and tries to attack the rest of the group and then the group has to decide whether to trap him or help him.


In our group we chose which parts we were going to create some images for to make a whole storyboard.

I decided to go with the dust demon being summoned.

dust.png

Work in Progress

The image above is still a work in progress of the final image that I am creating.

Personal Project: Summer Sketches

Over the summer, I have tried to sketch as much as I can, however I worked the majority of the summer so it was difficult trying to get the time in to do some work. I would have liked to … Continue reading