During one of the scenes in act 2, I was given the task to create the logo to go onto the side of the building, “CG Enterprises”.
I made this within photoshop and then exported it into illustrator to create a vector of it.
This then meant I could put it into after effects and create a 3d Object from the logo vector.
Originally I was going to create a 3D model of the logo within Maya, then export it out into after effects to make the track.
However, I used the vector from Illustrator, created outlines from it within After Effects and turned it into a 3D image.
I then added a spot light into AE to allow the shape to project shadows and have a slight glossy look to it.
18/05/17
I had a few problems withe After Effects crashing a lot, due to it not being able to RAM Preview. I found out that I had RayTrace 3D enabled as the chosen renderer, which is why it was taking ages to just preview the scene.
Classic 3D rendered almost instantly, however, I need to use a 3D renderer to be able to see the 3D effects of the logo, so it was a choice of either CINEMA 4D , or RayTrace 3D.
I eventually went with CINEMA 4D, as this rendered things quicker than RayTrace, but still allowed me to use the 3D logo.
22/05/17
I came across a few problems with trying to add effects to the vector, due to it being, a vector.
So I have pre-composed the vector, lighting and null object into a new pre-composition , which has finally allowed me to edit it properly.
I have added a mix of effects onto this, Curves, Hue and Saturation, CC Vector Blur, CC Light Sweep, CC Cross Blur and Drop Shadow.
Tweaked the brightness of the sign to make look more real.
I decided to do a test on the eye effect for our project within after effects, as the characters eye changes from normal to a red colour.
I tracked the shape motion in Mocha AE, as after effects track motion wasnt very reliable for this.
Once I exported the shape motion from mocha, I pasted it onto a solid object in after effects.
But it had a few issues with lining up properly, so I needed to adjust some keyframes so that it was more accurate.
From here I then added some feather effects, a blur and overlayed another layer so that it created a yellow ring “glow” around the red of the eye.
I then created a “pulse” effect on the other test to see if this worked any better than just the original eye, but I feel as though the first test worked better.
Today I was shown how to use Mocha in After Effects, So I will be practicing more using different shots and images.
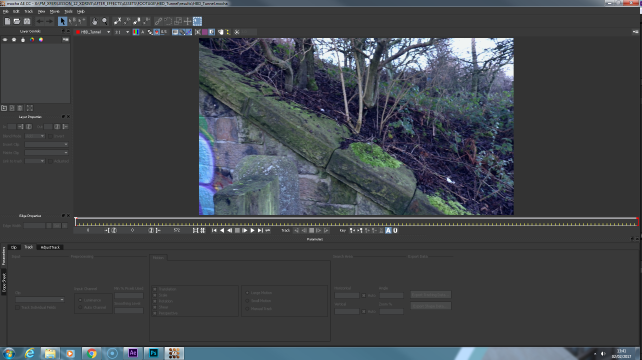
I imported some test footage of the tunnel. This footage is really “shaky and rotates” a lot, this would be very difficult to track with 1 or 2 point tracking.
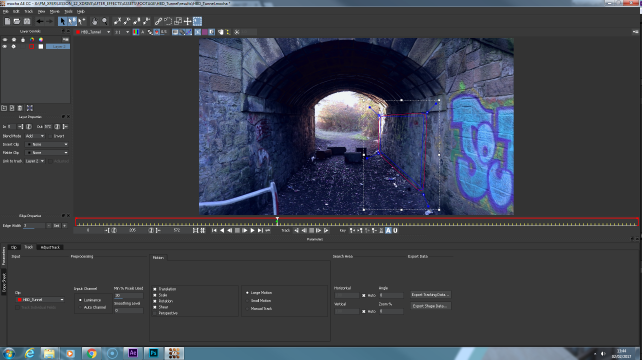
Next, you go into animation, then click Track in Mocha AE.
Next, you find a clean frame, and click on the Spline button, then draw around a shape that you want to track, as well as adjusting the planar surface.
To track this, I then tracked “backwards” and then “forwards” to ensure there was no errors.
Due to where the footage is saved, it takes a while to track, so it looks jumpy.
Next we copy the tracked information back to after effects.
Then you make a new solid, and paste the tracking onto that solid, but must make sure that it is on frame 1 otherwise it wont work properly.
Once this is done, we pre-compose this and import the image file above the composition.
Sometimes the image needs an adjustment, so different modes such as Overlay or colour dodge will work, depending on the image and footage used. But for this one, I have used Exclusion
However, the image still looks quite sharp, so we add a CC Force Motion Blur to the image, giving it a more realistic feel.
I then changed the curves slightly so that the colours arent so bright.
After, I then did another track on the other wall and added another image.